How to Install Vinyl Plank Flooring

Vinyl plank flooring has become exceedingly popular among homeowners. Cheaper and easier to install than tiles, hardwoods, and porcelain, it is an attractive, long-lasting, and versatile do-it-yourself floor covering. Choose from a very wide variety of colors palettes, styles, designs, and styles to find the perfect vinyl plank flooring to match your space. You can even choose a vinyl flooring that looks like your favorite wood but is more long-lasting and hassle-free.

Vinyl plank flooring is also especially popular to install in water-prone rooms or spaces such as kitchens and bathrooms because it’s virtually impermeable to water and indestructible. And it’s easy to install yourself: with just a few hours of work, you can cover a moderately sized room with vinyl plank flooring. Here’s what you’ll need and how to do it.
What You Need

One of the perks of DIY vinyl is how little you need to install it. What you need, however, depends on what kind of vinyl flooring you’re choosing to use. Some vinyl clicks into place, while others are made to be glued to the floor. You can use a utility knife, vinyl cutter, and a jigsaw or miter saw for cutting the vinyl. Other tools to have on hand are measuring tape, chalk, a vacuum, a straightedge, and some basic construction tools for removing and replacing trim. If you are using glue-down vinyl planks, be sure you have floor adhesive and a notched trowel. As always, we recommend safety goggles and work gloves during DIY projects to keep yourself as safe as possible.
Plan the Layout

It’s always a good idea to plan how you will lay the vinyl planks before installation to make the process as easy and quick as possible. Because of the way vinyl planks look, you want to plan a layout that is pleasing to the eye. Generally, this can be done by working from the most visible wall or the first wall you see upon entering the room and then working towards the entryway. In a bathroom, it’s a good idea to work alongside the bathtub. Plan to lay your planks parallel to this most visible or longest wall and work your way across the room.

Also, plan to stagger rows so that endpoints don’t fall at the same point for nearby rows. Try to stagger the vinyl planks to offset each end seam at least 6 inches from row to row. Take your vinyl planks out of the packaging and shuffle them together to create a more natural-looking variation, as each package will have subtle differences in patterns and colors. You can even already lay them on the floor to get a sense of what looks most aesthetically pleasing in your space.
Prepare the Space

Like with any installation, preparing the space is vital. Vinyl planking can be laid over existing flooring, but if there are any uneven spaces, they should be sanded down to create a flush surface for laying down the planks. If you are laying vinyl planks over a concrete subfloor, fill any uneven cracks or divots with a concrete patcher. For a plywood subfloor, fill any uneven areas with a leveling compound.
Another important point to prepare is that you may need to remove your trim or baseboard before installing your vinyl planks. Use a pry bar to gently remove trim and baseboards and plan to reinstall after the floor has been installed. Alternatively, if you don’t want to remove the baseboards and trimming, cut the vinyl planks to fit around them.
Cut Planks to Size

You will want to then cut the planks to the size for you. Use a utility knife to score the plank along where you want to cut and then snap it where you want to see the cut. Alternatively, use a saw to cut straight through the plank. For areas that need a special shape or to fit around a corner, use your tape measurer and chalk to mark the cut and use a jigsaw to cut the plank to the right shape. If you have some rough-cut sides, prioritize those as the sides that should tuck under the baseboards or trim so that they’re less visible.
Install the Floor

Once you’ve prepped your planks, prepped your space, and have gotten everything organized, it’s time to install your vinyl plank floor. Unless you use planks that require glue, which is a slightly different operation, your planks should simply lock into place. For glue planks or planks that require an adhesive, you will want to put down that adhesive below the planks as you work along your space. Be sure that you have vacuumed the ground before putting down glue to ensure that everything sticks perfectly.

Most vinyl planks attach edge-to-edge and end-to-end with a fold and lock kinds of tongue and groove design. One plank is laid flat on the floor while the other plank is held at an angle in the first plank’s groove. Insert the second plank into the groove of the first plank, lower it so that it’s flat on the floor and parallel to the first one, and let it lock into place. Continue to do this for the length of the space you are working with. Make sure that end seams are staggered so that they are at least 6 inches away from the end seams in the previous row for a more aesthetically pleasing look. Continue to lay down rows until you’ve covered your whole space.
Then, replace the trim or baseboards, and you’re finished! You can now enjoy your DIY vinyl plank flooring for years to come.
While do-it-yourself projects can be fun and fulfilling, there is always a potential for personal injury or property damage. We strongly suggest that any project beyond your abilities be left to licensed professionals such as electricians, plumbers, and carpenters. Any action you take upon the information on this website is strictly at your own risk, and we assume no responsibility or liability for the contents of this article.
Related Articles
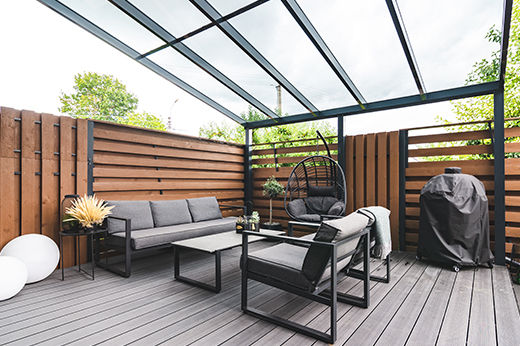
How To Install A Wooden Privacy Fence
Wondering how to install a wooden privacy fence? Here’s what you need to know to safely install a privacy fence. Find everything you need to get started.
Learn more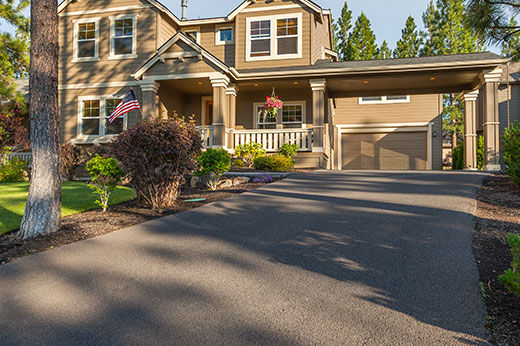
How to Resurface an Asphalt Driveway: Step by Step
Update your home's curb appeal and learn to repair cracks, potholes, and uneven areas
Learn more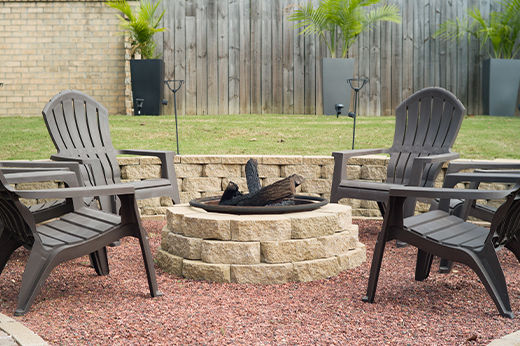
How to Build a Fire Pit
A simple and affordable outdoor DIY project with a step-by-step guide
Learn more
Backyard Privacy Ideas
Enjoy some alone time in the comfort of your own backyard with these simple tips
Learn more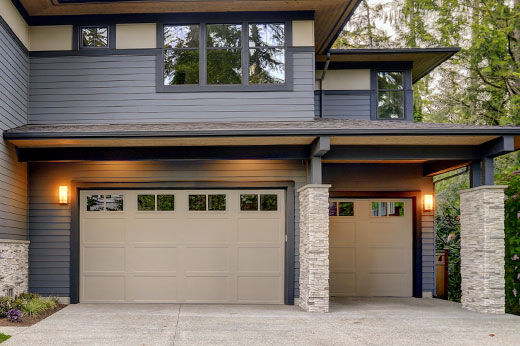
Garage Door Maintenance to Keep It in Tip-top Shape
Six easy and cost-effective ways to keep your garage safe and prevent damage
Learn more